

Have you ever heard the word "serverless"? My guess is that you already have. If you are a developer, chances are you may have already deployed something in a serverless manner, even if it was just for fun. Azure Functions is a serverless compute solution developed and offered by Microsoft, which enables you to write less code, maintain less infrastructure, and scale effortlessly to meet demand.
Serverless does not mean the absence of servers, it simply means that the need to provision, manage, and scale servers to meet your demand is abstracted away. With Azure Functions, you are then left with a platform to write just the code you need to solve a particular challenge. There are also other serverless products, like serverless Azure SQL databases, and serverless Cosmos DB. If we are following the basic rules of what serverless means, then I think we can even consider Azure Event Grid to be a serverless product.
Prerequisites
If you want to code along with this guide, you'll need the following:
- Visual Studio Code
- Azure Functions Visual Studio extension
- Azure Functions Core Tools
- at least Python 3.8
Developing Locally with Azure Functions
If you are like me, then you may want to do initial testing locally before spinning up cloud resources. Azure Functions Core Tools allows us to do just this, by providing the Azure Functions runtime so we can test and develop our code locally. You can learn more about Azure Functions Core Tools here.
Azure also offers a storage emulator (to emulate blob, queue, and table storage for local development), as well as an Azure Cosmos DB emulator (to emulator Azure Cosmos DB for local development).
Creating our Azure Functions project
Open your terminal, navigate to the desired location and create a new function app and open in Visual Studio Code.
When you open your function app in Visual Studio Code, you should get a prompt to initialize a Local project. Select yes and this operation will create a Python virtual environment with your selected interpreter, as well as create a .vscode folder with some default settings.
mkdir getting-started-with-azure-functions

cd getting-started-with-azure-functions

func init --worker-runtime python
We have now created our function app, and its structure should look like the screen capture below:
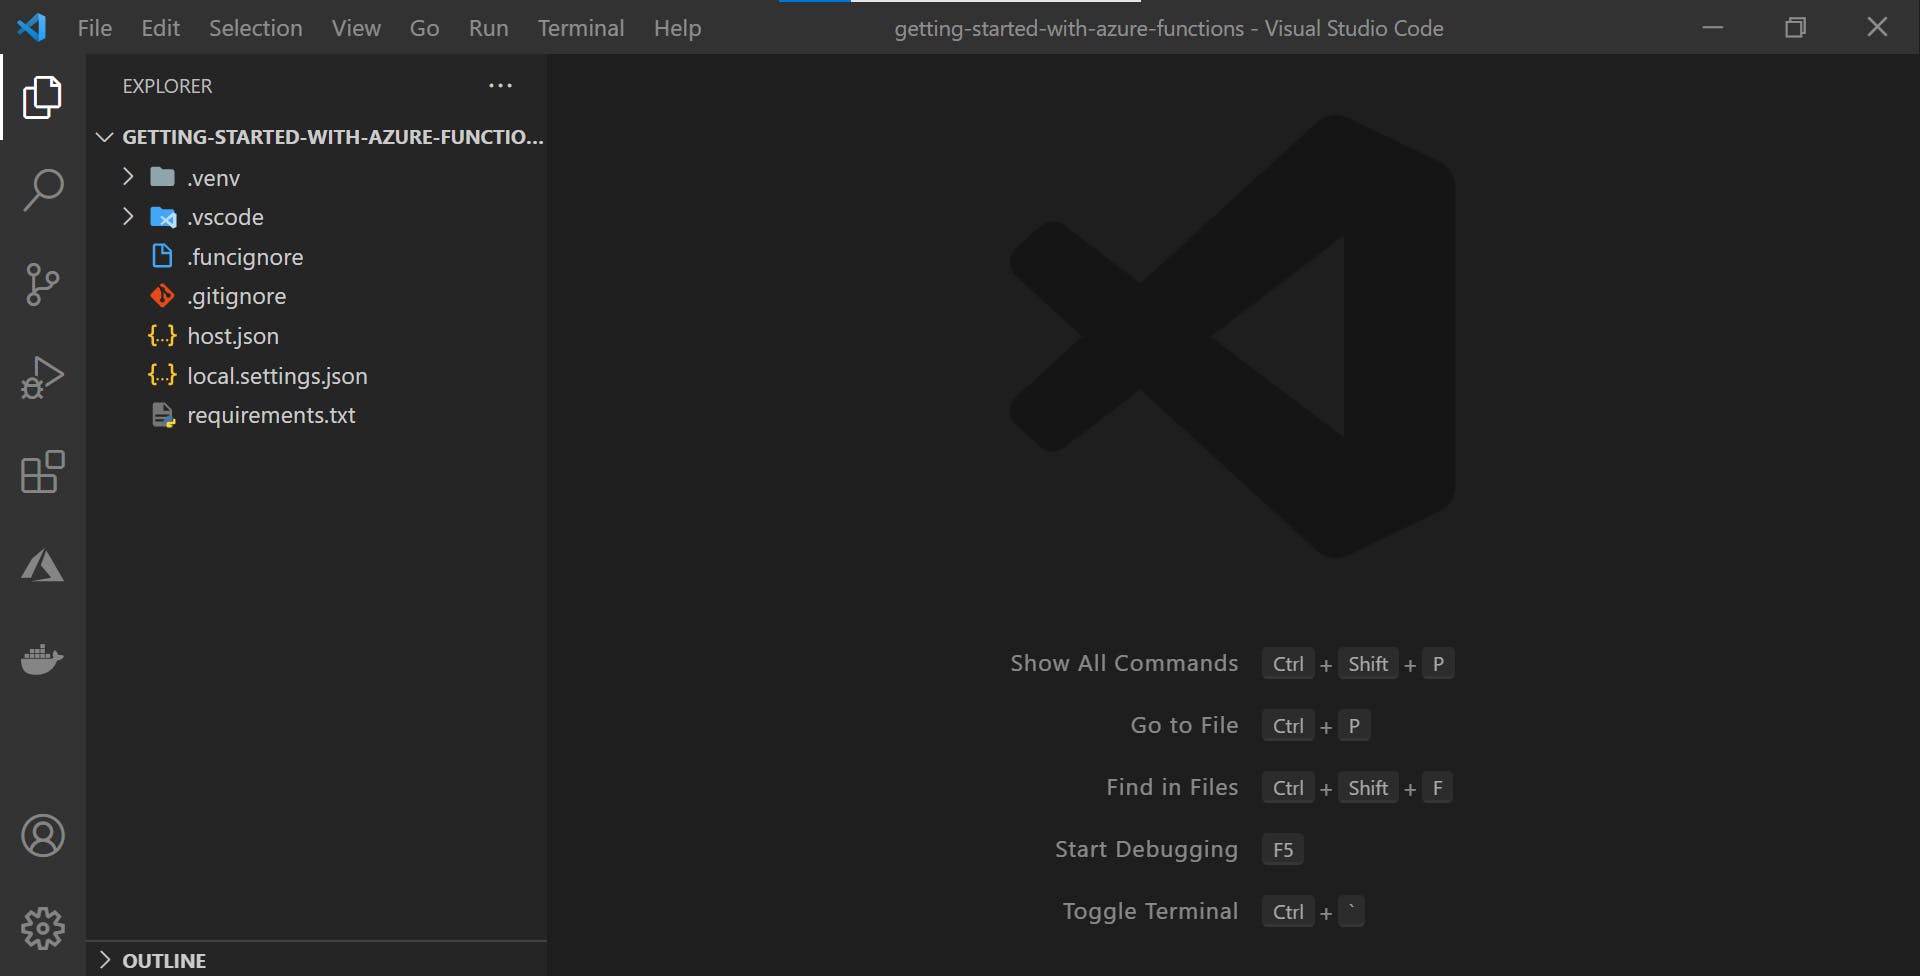
It is important for me to point out something really important as it relates to the structure of Azure Functions. What we created with the commands above is a function app. A function app is a container for one or more related functions. For example, you may have a function app that is as a RESTful API for a Product service.
This product service may need to be able to get all products, get a single product, add a new product, or delete an existing product. It would be very difficult to store and manage all this code in a single file, and you may want to create a separate function for each of those use-cases (getting all products, getting a single product, adding a new product, and deleting an existing product).
Creating our first Function
To create our first function in our function app, run the following code:
func new --name demo_http_trigger --template HttpTrigger
After running the above command, our function app folder structure should now look very similar to this:
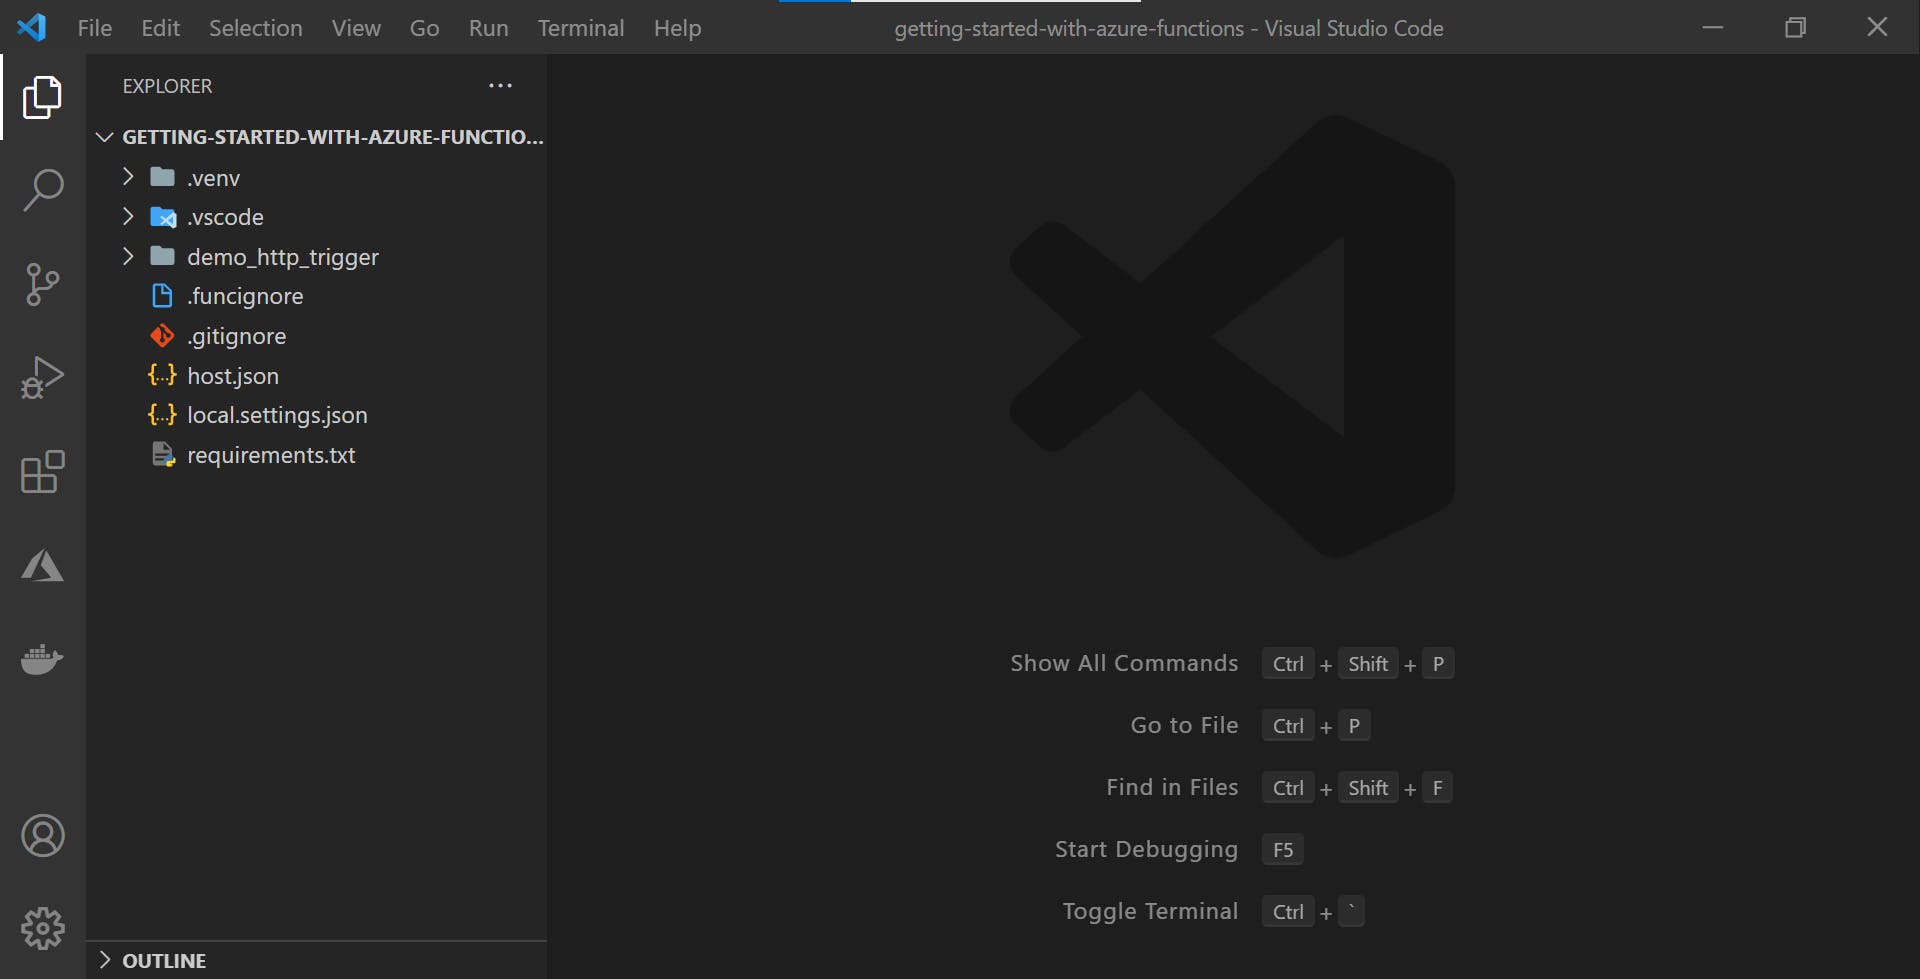
Let us take a closer look at the command we ran to create our first function. --name demo_http_trigger is telling the tool to give our function this name, while --template HttpTrigger is telling the tool to create a function that accepts and returns HTTP requests and responses respectively (i.e., is triggered by an HTTP call). This means that we have created a function that will accept HTTP calls and return an HTTP response to the caller.
There are many other triggers that we could have selected, but we will focus on events, triggers, and bindings in a follow-up article. Inside our demo_http_trigger function we should have an __init__.py file that contains our code. It is important to note that this is the entry point to our function, where execution will start.
Replace the default code inside the __init__.py file with the code below:
import logging

import azure.functions as func


def main(req: func.HttpRequest) -> func.HttpResponse:
    logging.info('Python HTTP trigger function processed a request.')

    comment = req.params.get('comment') or "Azure Functions is cool!"

    return func.HttpResponse(
        body=comment,
        status_code=200,
    )
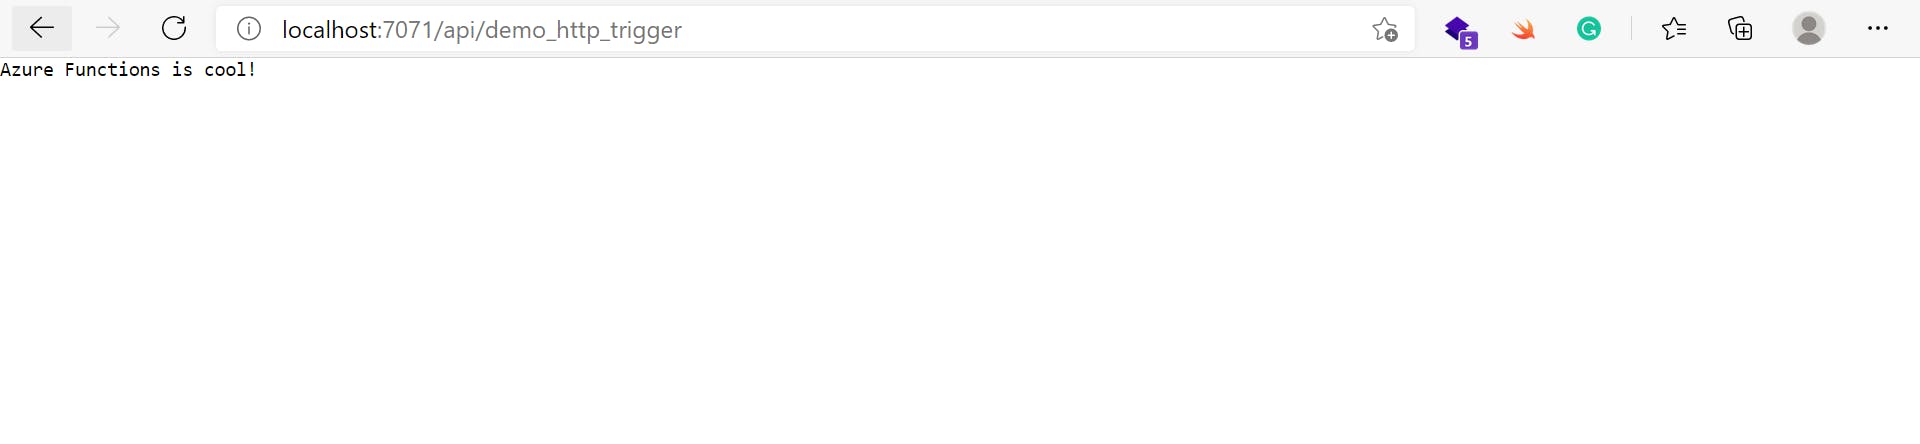
The code is getting the value from the comment query parameter and storing or defaulting to the string "Azure Functions is cool!". It then returns the value inside the commend comment variable with a status code of 200.
Running and Testing our Function
To run our function app and by extension, all the functions within (albeit we have just one), we type the following command func host start. We should see some output similar to the one below:
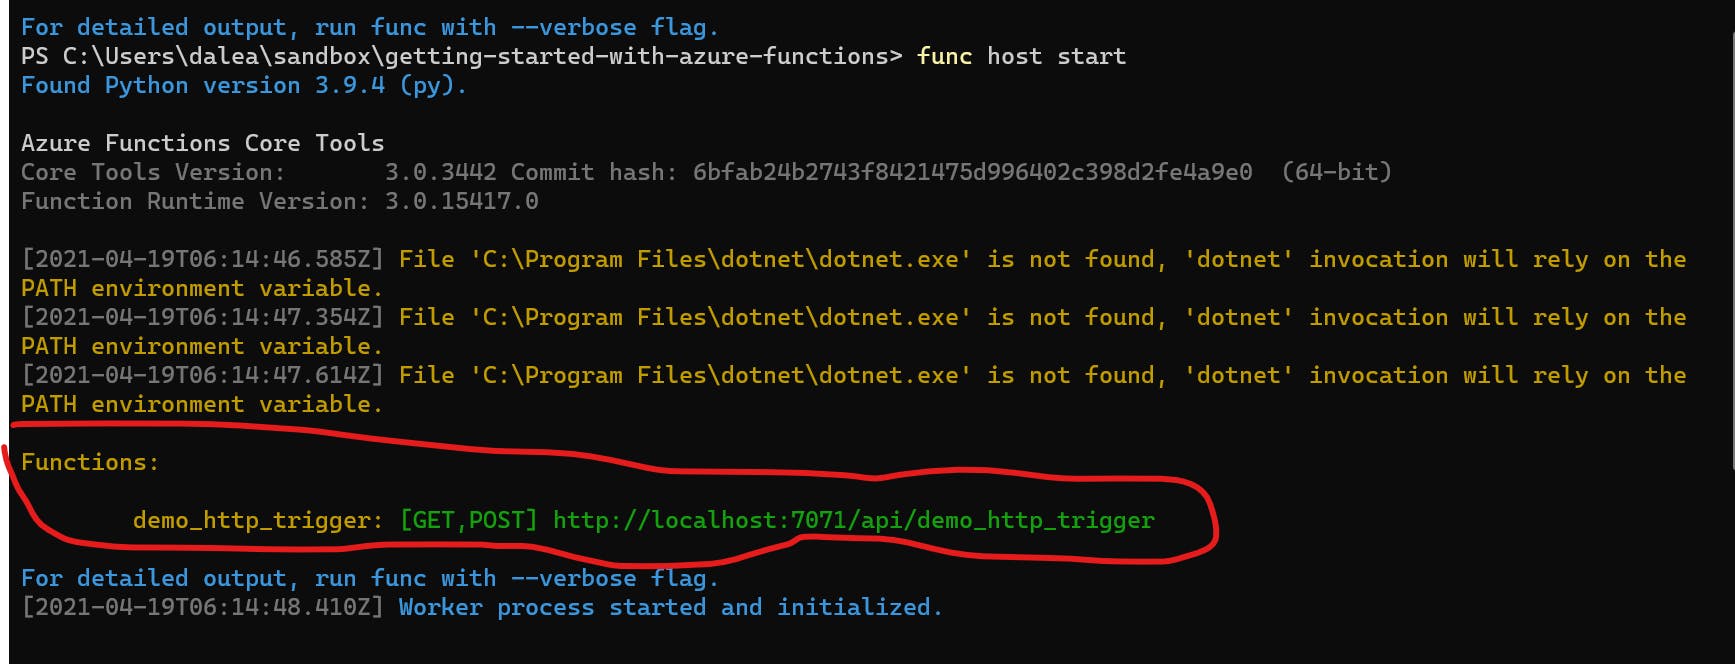
Highlighted in red, we can see our function and that it accepts GET, and POST requests, along with its URL. If we open that URL in our web browser we should get the following response.
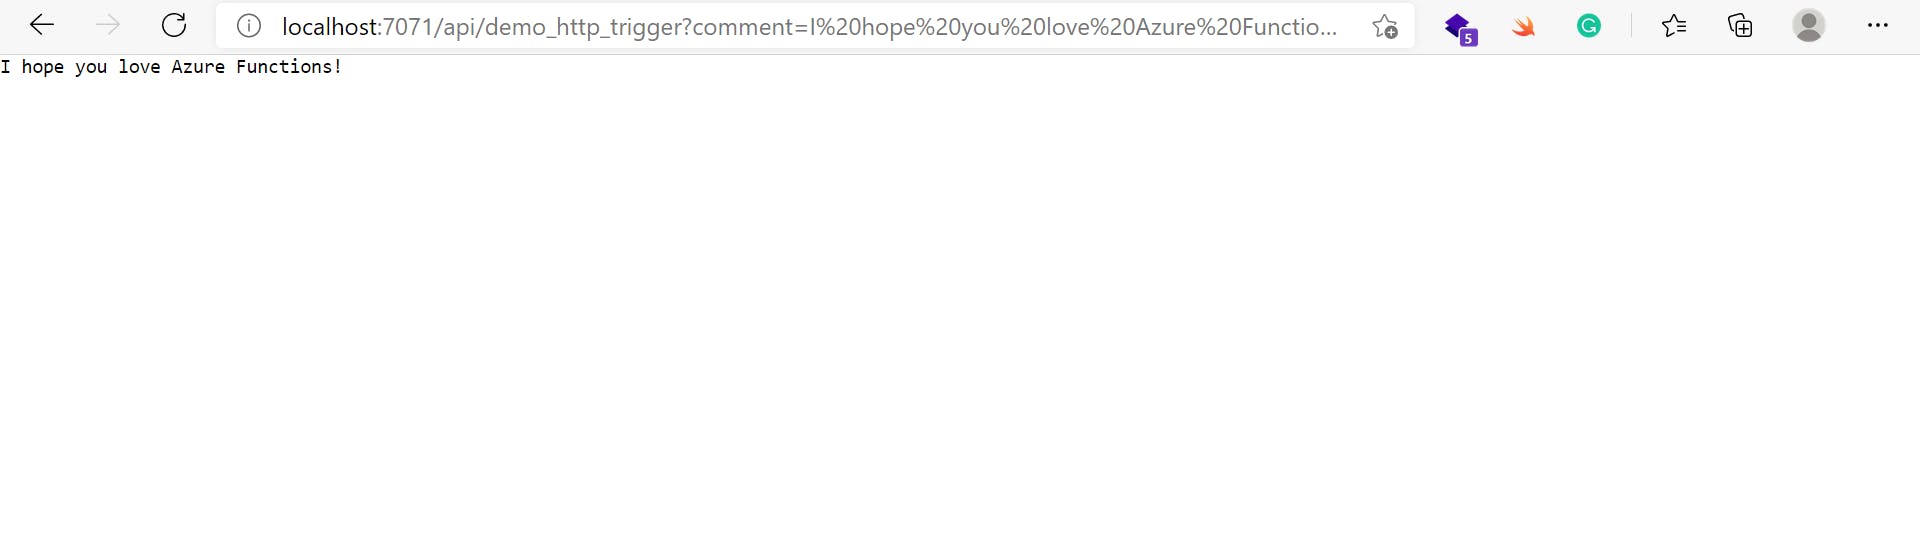
The code also allows us to specify the comment query parameter with a value. So if we should add this query parameter with a value, we should instead see that value as the response from our function. Let us try that.
Wrapping up
In this guide, we looked at the surface of Azure Functions and we created a simple HTTP triggered function. We didn't have to deploy our code to a container or virtual machine for it to run, and we were able to accept a custom query parameter. We didn't have to deal with any frameworks or libraries that didn't contribute to the problem we were trying to solve, and our function solved one specific problem.
In a future guide, we will demonstrate how to deploy our local function app to an Azure Function app running in Azure. To learn more about Azure Functions, visit the official Microsoft documentation.